In the realm of 3D modeling and printing, the ability to quickly transform a single image into a tangible object represents a significant leap forward. In this blog, our team devolved into a new paradigm in rapid prototyping using InstantMesh, an innovative tool for efficient 3D mesh generation from single images, complemented by the powerful capabilities of Blender and 3D printing. Complemented by Blender and 3D printing, we’ll walk you through the detailed steps we took to create a 3D-printed model of a cute cat from a single image.
First things first, we needed to set up InstantMesh. To get started for the installation, we ensured that we had the necessary dependencies installed:
Here’s how we set up the environment:
					conda create --name instantmesh python=3.10
conda activate instantmesh
pip install -U pip
conda install Ninja
conda install cuda -c nvidia/label/cuda-12.1.0
pip install torch==2.1.0 torchvision==0.16.0 torchaudio==2.1.0 --index-url https://download.pytorch.org/whl/cu121
pip install xformers==0.0.22.post7
pip install triton
pip install -r requirements.txt
Next, we downloaded the required models for InstantMesh. This can be done automatically by the inference script or manually placed in the ckpts/ directory. For more detailed information, you can check out the Instant Mesh GitHub Repository.
We gave chatgpt a prompt to generate an image of a cute cat and used a background removal tool to create an alpha mask for the image. This step was crucial for running the model efficiently on limited GPU memory.

To generate 3D meshes from the image, we followed these steps:
python run.py configs/instant-mesh-large.yaml examples/cute_cat.png --save_video --no_rembg
This command generated multiple views and an OBJ file of the cat model, which was saved in the output directory.

Side Note: The Large Reconstruction Model (LRM) is key in InstantMesh for generating high-quality 3D meshes from sparse-view inputs. It uses advanced techniques like multi-view diffusion and FlexiCubes for efficient and smooth mesh outputs.
With the OBJ file generated by InstantMesh, we further refined and prepare the model for 3D printing:
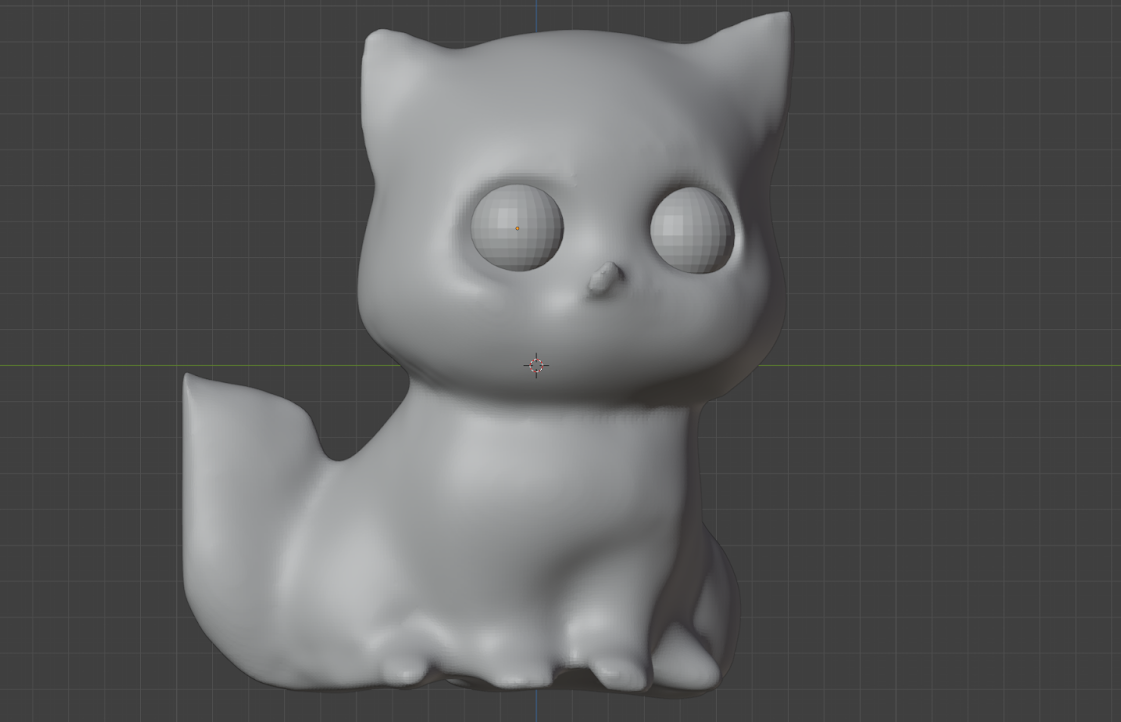
We used Blender and imported the OBJ file of the cat. Using Blender’s sculpt mode, we smoothened the model. This process involved adjusting the mesh to remove any artifacts or rough edges created during the mesh generation.We then added spheres for the cat’s eyes to enhance the model’s realism and completeness.

With the refined 3D model ready, we proceeded to print it
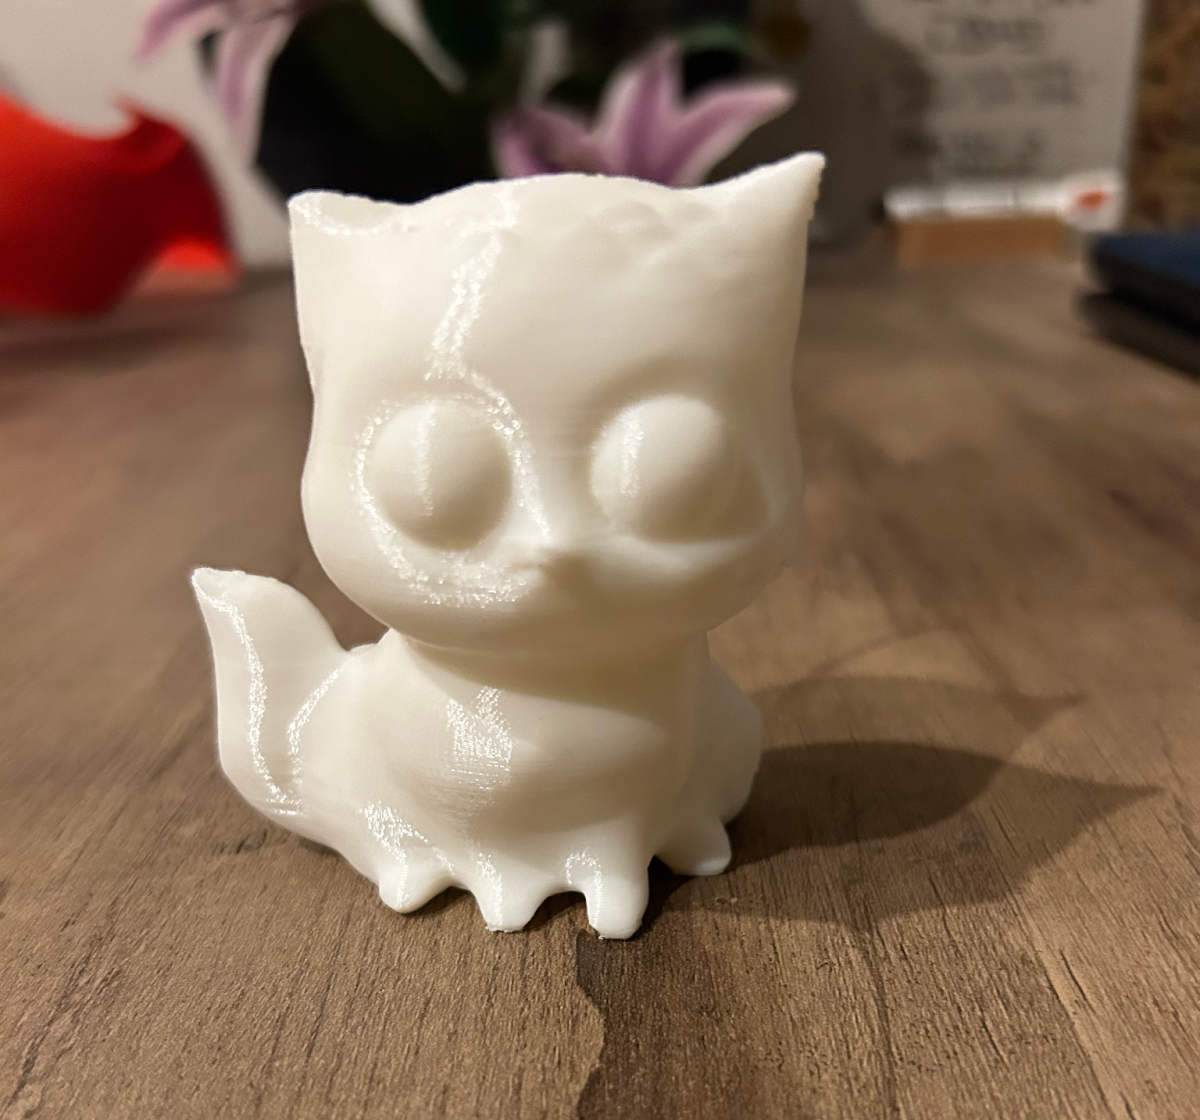
We exported the final model from Blender in a format compatible with our 3D printer (STL or OBJ). We then used a slicing software to prepare the model for printing. This involved setting parameters like layer height, infill density, and print speed. We loaded the sliced file into our 3D printer and started the print. For this project, we used a single NVIDIA GeForce RTX 3090 GPU to handle the rendering and processing efficiently.

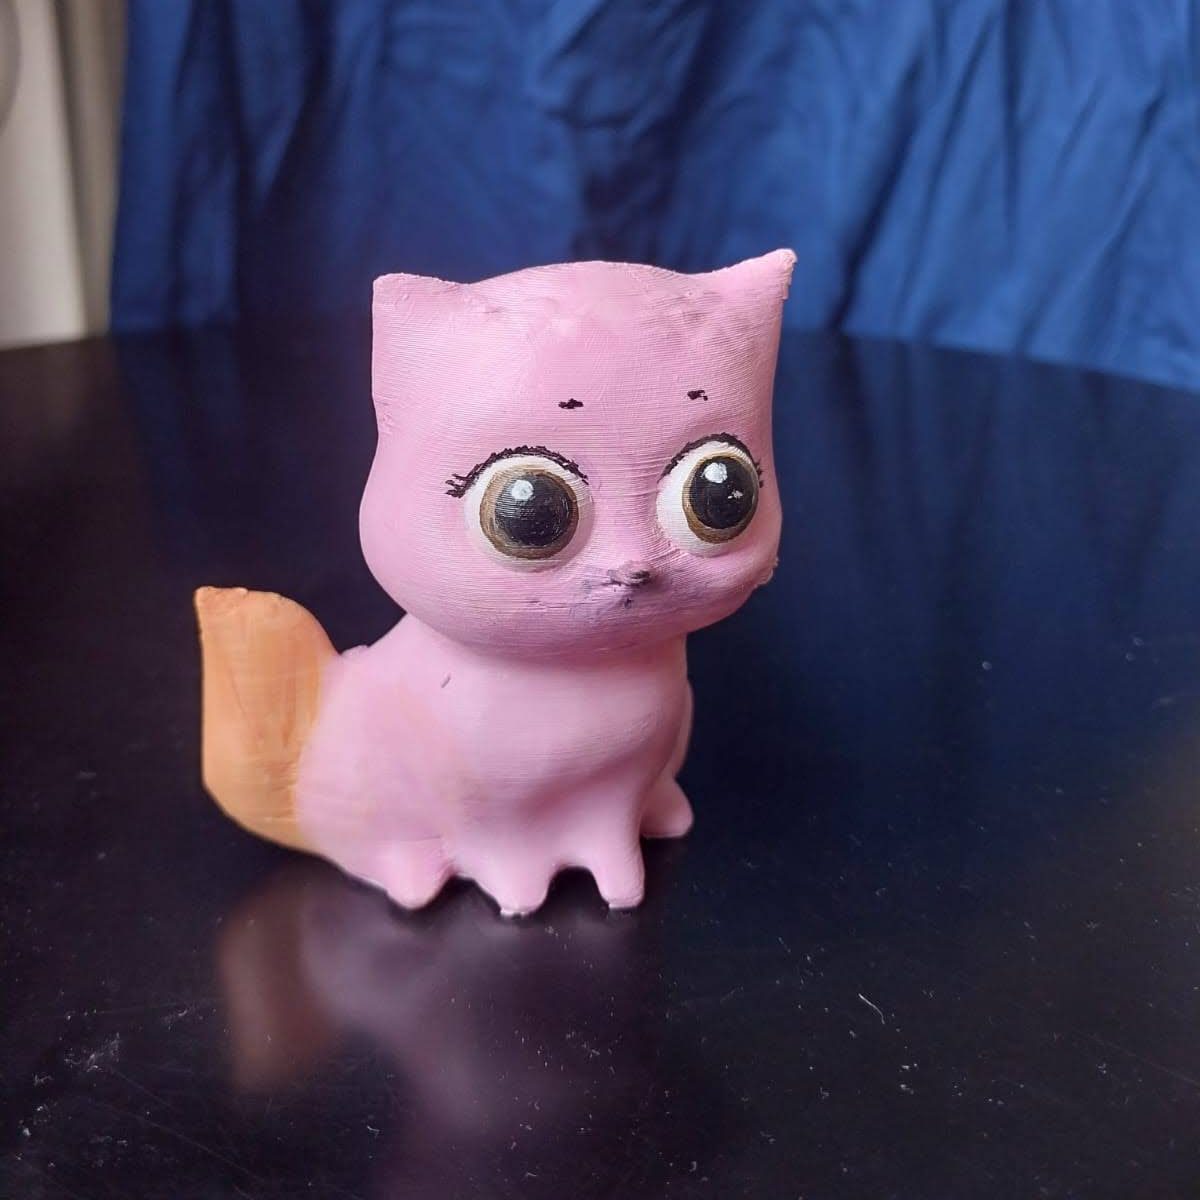
For some color inspiration, we turned to a 5 year old and the recommendation was clear: a pink body with a orange tail. We couldn’t resist the creative spark and went ahead with it. Here’s the final product, vibrant and full of character:

This process showcases a revolutionary approach to rapid prototyping, enabling the transformation of a simple image into a 3D-printed object with remarkable speed and ease. The combination of InstantMesh for mesh generation, Blender for model refinement, and 3D printing technology opens new doors for designers, hobbyists, and professionals alike. This method not only saves time but also makes the prototyping process accessible and efficient.
By leveraging these tools, anyone can bring their digital creations to life, making rapid prototyping an exciting reality. Whether you’re a game developer, a product designer, or simply a 3D printing enthusiast, InstantMesh offers a powerful solution to turn your ideas into physical objects swiftly and effectively.